
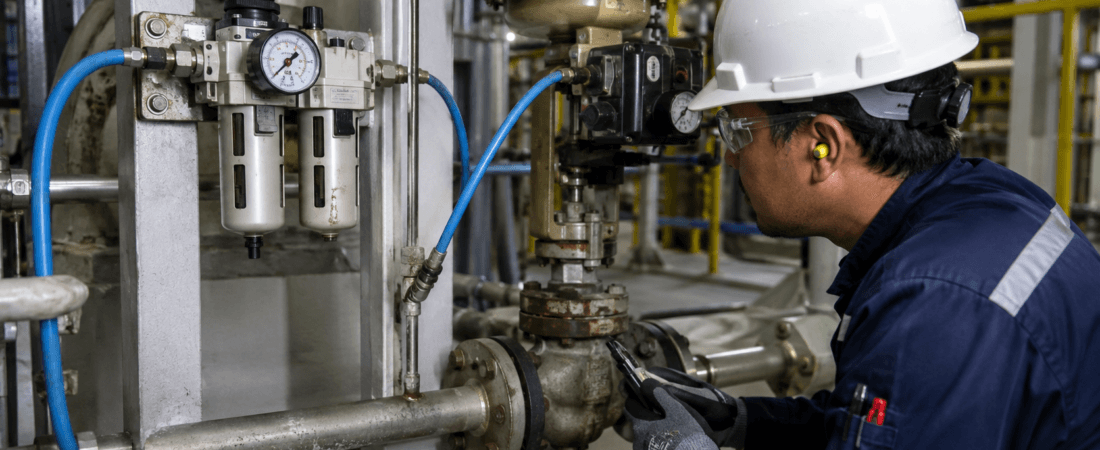
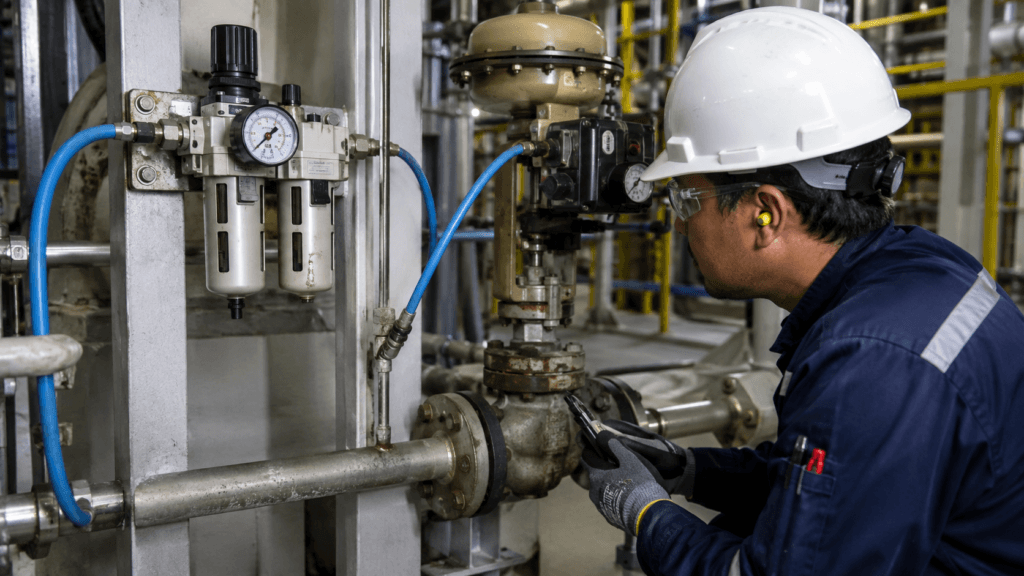
The valve received an Open command.
The PLC output was ON.
The output module LED was ON.
The correct voltage was measured at the solenoid coil.
But the valve did not move.
At this point, replacing the solenoid coil can feel like the fastest answer.
Sometimes it works.
Sometimes it only replaces the one part that was already healthy.
Voltage at the coil proves that the electrical command reached the solenoid.
It does not prove that:
- The spool shifted
- Instrument air passed through the valve
- The actuator produced enough force
- The valve stem was free to move
The troubleshooting should continue along the energy path.
Follow the Energy, Not Just the Signal
A pneumatically actuated valve usually moves through this chain:
Command → Coil Voltage → Solenoid Shift → Airflow → Actuator Force → Valve Movement
The fault is located where that chain stops.
Instead of repeatedly checking the PLC output, move forward one stage at a time.
1. Confirm the Correct Voltage at the Coil
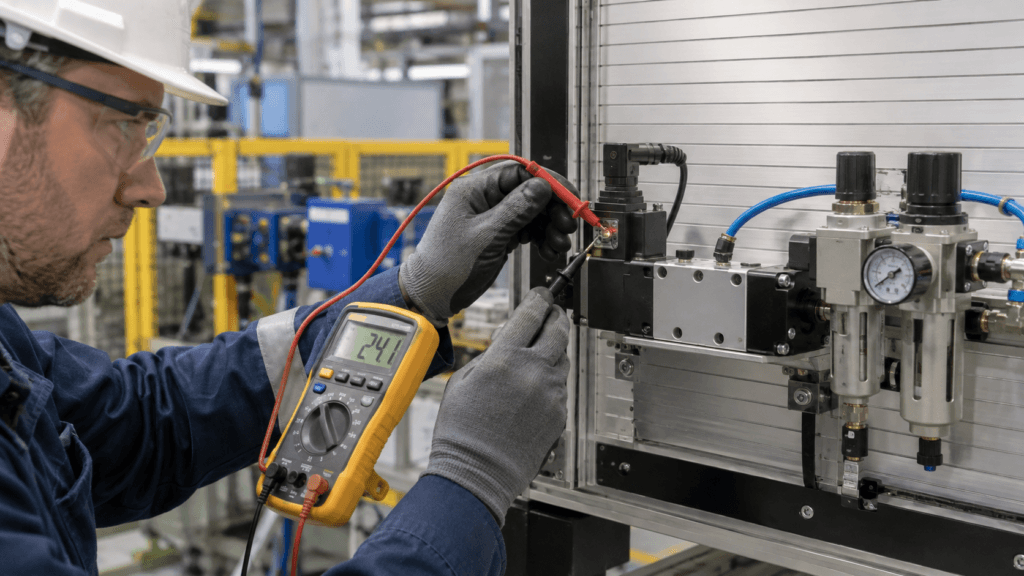
Do not rely only on the PLC output LED or the connector indicator.
Measure the voltage directly at the coil while the command is active.
Check:
- Actual voltage under load
- AC or DC coil rating
- Correct coil voltage
- Loose connector or terminal
- Voltage drop through an interposing relay
- Incorrect suppression device or polarity
A voltage indication may exist even when the coil is not receiving enough power to operate reliably.
Also confirm that the command remains active long enough for the valve to move.
2. Check Whether the Solenoid Actually Shifts
An energized coil does not guarantee that the internal spool moved.
The spool may be:
- Stuck by contamination
- Corroded
- Frozen by moisture
- Damaged internally
- Blocked by incorrect assembly
- Held by a manual override
Listen for the operating sound, but do not treat a click as final proof.
A click confirms movement somewhere inside the solenoid.
It does not prove that the air ports changed correctly.
Where the approved procedure permits, verify the pneumatic output rather than judging the solenoid only by sound or magnetic force.
3. Check the Instrument Air Supply
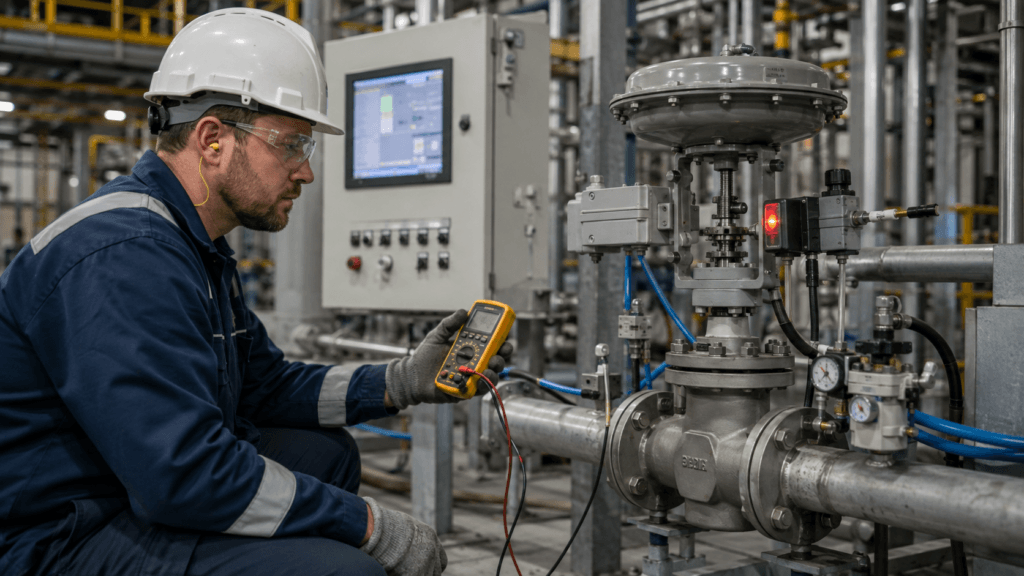
The supply pressure gauge may look normal while the actuator receives little or no usable airflow.
Check:
- Isolation valve position
- Filter regulator condition
- Actual downstream pressure
- Air supply during valve movement
- Kinked or damaged tubing
- Leaks at fittings
- Water or oil contamination
Static pressure and available airflow are not the same thing.
A restricted filter can show normal pressure when the valve is idle and then collapse when airflow is required.
Observe the pressure while the valve is commanded to move.
4. Check the Exhaust Path
Pneumatic systems need somewhere for the displaced air to escape.
A blocked exhaust can prevent or slow actuator movement even when the supply side is healthy.
Possible causes include:
- Clogged exhaust muffler
- Ice formation
- Dirt or process dust
- Incorrectly installed speed controller
- Crushed exhaust tubing
- Plugged vent port
The problem may appear to be insufficient supply pressure when the real restriction is on the exhaust side.
This point is easy to miss because troubleshooting usually begins at the air inlet.
5. Confirm the Tubing and Port Connections

After maintenance, the solenoid may energize normally while the valve moves incorrectly—or does not move at all.
Check for:
- Supply and exhaust ports reversed
- Actuator ports connected incorrectly
- Loose tubing
- Tubing installed on the wrong solenoid
- Open and Close lines crossed
- Incorrect solenoid configuration
Do not assume that tubing is correct because it looks neat.
Compare the actual connections with the pneumatic diagram and the solenoid port markings.
6. Separate the Solenoid Problem from the Actuator Problem
If air pressure reaches the actuator but the valve still does not move, the problem is no longer only electrical or pneumatic.
Possible causes include:
- Actuator diaphragm failure
- Internal actuator leakage
- Weak or broken spring
- Damaged piston seal
- Insufficient actuator thrust
- Mechanical linkage failure
- Positioner or booster problem
Measure or verify the pressure at the actuator connection during the command.
This separates two different questions:
- Did the solenoid deliver pneumatic energy?
- Did the actuator convert that energy into movement?
7. Check Whether the Valve Is Mechanically Stuck
The actuator may move slightly while the valve stem remains stuck.
Mechanical resistance can come from:
- Packing friction
- Corrosion
- Process deposits
- Crystallization
- Foreign material
- Bent stem
- Internal valve damage
- High process differential pressure
A valve that moved during a shutdown test may still fail when process pressure is applied.
A successful no-load stroke test does not always prove that the valve can overcome live process forces.
A Practical Troubleshooting Sequence
When the solenoid is energized but the valve does not move, check the system in this order.
Step 1: Electrical Command
- Is the correct command active?
- Is the voltage correct at the coil?
- Does the voltage remain stable under load?
Step 2: Solenoid Operation
- Does the spool actually shift?
- Is the manual override released?
- Are the ports changing correctly?
Step 3: Pneumatic Supply and Exhaust
- Is the isolation valve open?
- Is pressure maintained during movement?
- Is the filter restricted?
- Is the exhaust path clear?
Step 4: Actuator Response
- Does pressure reach the actuator?
- Is there internal leakage?
- Does the actuator produce movement?
Step 5: Mechanical Valve Condition
- Is the stem free?
- Is process force preventing movement?
- Are deposits, packing, or internal damage involved?
Do not replace parts until the failed stage has been identified.
Field Checklist
Before replacing the solenoid, ask:
- Is the coil receiving its rated voltage?
- Does the voltage remain healthy under load?
- Did the solenoid spool actually shift?
- Is the instrument air isolation valve open?
- Does pressure drop when movement is requested?
- Is the filter regulator restricted?
- Is the exhaust muffler blocked?
- Are the pneumatic tubes connected to the correct ports?
- Does air pressure reach the actuator?
- Is the actuator leaking or mechanically damaged?
- Is the valve stem stuck under process conditions?
Final Thought
The PLC output was ON.
The coil was energized.
But the electrical signal was only the beginning of the movement chain.
A valve needs electrical energy to shift the solenoid, pneumatic energy to drive the actuator, and enough mechanical force to move against friction and process pressure.
When the valve does not move, follow that chain.
Do not stop where the voltage appears.
Find where the energy disappears.
Safety Notice
Valve and control-system troubleshooting must be performed only by qualified personnel under approved procedures.
Before disconnecting tubing, removing a solenoid, operating a manual override, or working on an actuator:
- Confirm the process condition
- Isolate hazardous energy
- Depressurize the pneumatic circuit where required
- Apply lockout/tagout
- Consider the valve fail position
- Keep clear of moving linkages and stems