

Replacing a component can remove the symptom—and hide the evidence.
The machine stopped unexpectedly.
The control relay was the obvious suspect. Its output was unstable, and the equipment restarted after the relay was replaced.
The job looked finished.
Then the same fault returned the next day.
This is one of the most frustrating situations in maintenance. A component is replaced, the equipment operates normally, and everyone assumes the cause has been found.
But successful restart does not prove successful diagnosis.
Sometimes the replacement works only because we tightened a loose terminal, moved a damaged wire, reset a connector, or allowed an overheated circuit to cool down.
The new relay may be working perfectly.
The original relay may have been working perfectly too.
Why Replacement Can Create a False Conclusion
Replacing a relay changes more than the relay itself.
During replacement, we normally:
- Disconnect and reconnect wires
- Retighten terminal screws
- Move cables and connectors
- Remove oxidation from contact surfaces
- Reset the control circuit
- Leave the equipment stopped long enough to cool down
Any one of these actions can temporarily remove an intermittent fault.
The machine restarts, so the replaced relay receives the credit.
The real problem remains in the circuit.
That is why a fault returning after several hours or the next day should change the direction of the investigation. At that point, the question is no longer:
“Why did the new relay fail?”
The better question is:
“What changed during replacement, other than the relay?”
1. Check the Control Voltage Under Real Conditions
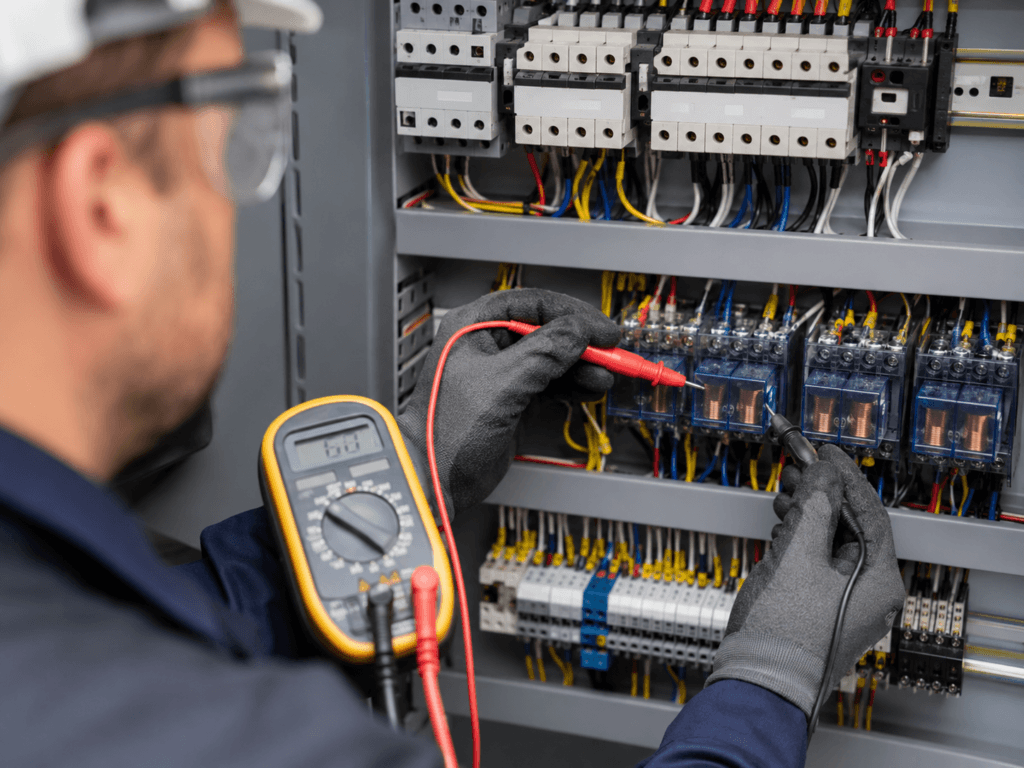
A relay can operate normally during inspection and fail when the equipment is running.
The control voltage may drop because of:
- A weak control transformer
- Excessive voltage drop in long wiring
- A loose terminal
- A failing fuse holder
- Several coils energizing at the same time
- An unstable PLC or interposing relay output
Measuring the voltage while the machine is stopped is often not enough.
The important measurement is the voltage directly across the relay coil when the fault occurs—or while the circuit is operating under the same load conditions.
A relay that requires 24 VDC may appear healthy at 24.1 VDC during standby. But if the voltage falls significantly during operation, the relay may chatter, release intermittently, or fail to pick up.
Do not check only whether voltage is present.
Check whether it remains stable when the circuit actually needs it.
2. Inspect the Terminal, Not Just the Component
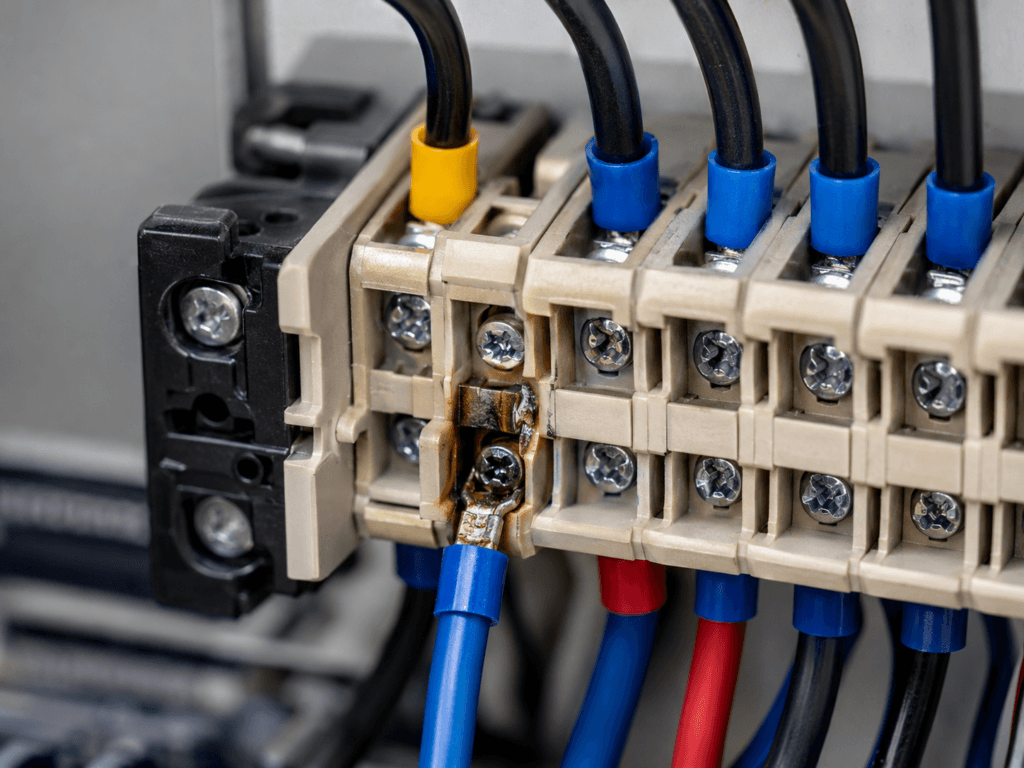
Loose terminals create misleading faults.
The relay may lose power for a fraction of a second. Its output contact may open. The PLC receives an abnormal signal, and the equipment stops.
When the relay is replaced, the wires are reconnected and tightened. The fault disappears.
Naturally, the relay is blamed.
But the real repair was the terminal reconnection.
Look for:
- Loose terminal screws
- Damaged ferrules
- Partially broken conductors
- Wires inserted over insulation
- Oxidized contact surfaces
- Terminals affected by vibration
- Signs of localized heating
A wire can look normal from the outside while only a few strands remain connected inside the insulation.
A gentle pull test and close physical inspection can reveal more than another resistance measurement.
3. Verify the Entire Interlock Chain

A relay output is often only one part of a longer control sequence.
The equipment may depend on several conditions:
- Emergency stop contacts
- Local and remote selector switches
- Pressure or level switches
- Motor protection contacts
- PLC permissives
- Safety relays
- Auxiliary contacts
- Field junction boxes
If one upstream contact opens intermittently, the downstream relay will drop out exactly as designed.
Replacing the relay will not correct the upstream condition.
Before condemning the component, trace the circuit from the power source to the final load. Identify where the signal disappears.
Do not stop at the point where the symptom becomes visible.
The relay may only be reporting a problem created somewhere else.
4. Reproduce the Operating Environment
Many intermittent faults cannot be found in a quiet panel with the equipment stopped.
The problem may appear only when the circuit is exposed to:
- Vibration
- Heat
- Moisture
- High process load
- Simultaneous equipment startup
- Panel door movement
- Cable tension
- Repeated switching
This is why “tested normal” can be a weak conclusion.
Normal under which condition?
A relay tested on a workbench is not operating in the same environment as a relay installed beside a vibrating motor starter or inside a hot control panel.
When possible, observe the circuit during startup, shutdown, load changes, and the exact operating step where the fault usually appears.
Intermittent problems often follow a pattern. The pattern becomes visible only when we stop treating each trip as a random event.
5. Preserve the Evidence Before Replacing Anything
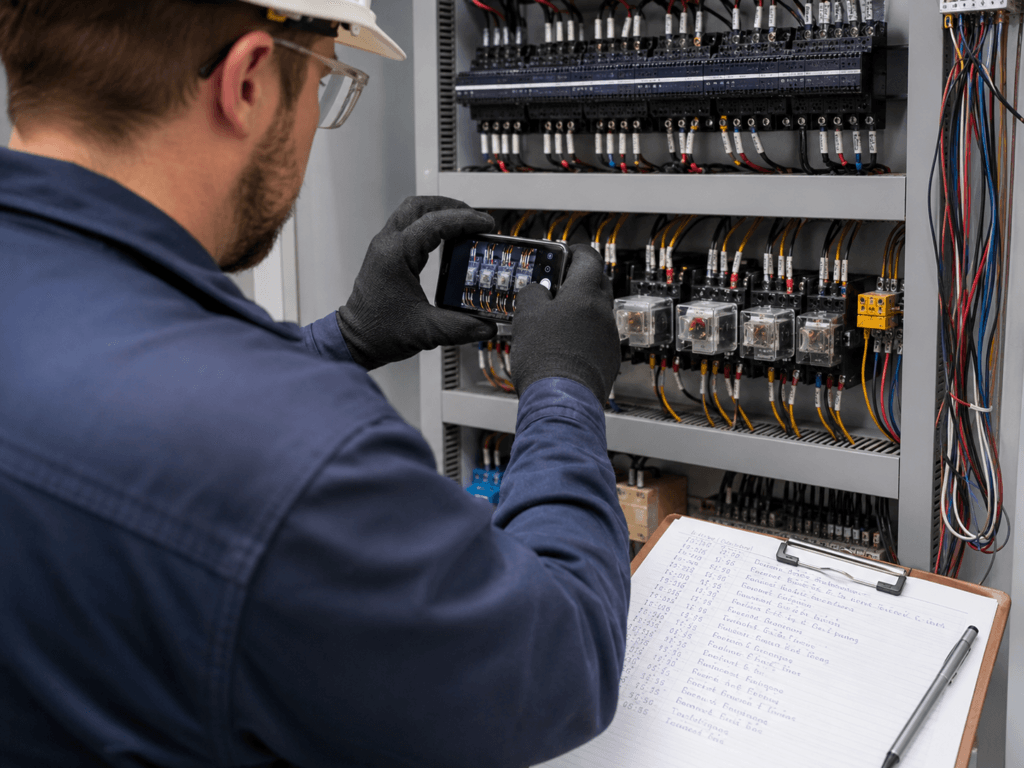
When production is waiting, replacement is often the fastest way to restore operation.
Sometimes that is the correct decision.
But before removing the suspected component, capture as much evidence as possible:
- Measure the coil voltage
- Check the input and output states
- Record PLC alarms and event times
- Photograph wire positions and terminal conditions
- Inspect for heat discoloration
- Note whether the relay was energized
- Check what happened immediately before the trip
Once the relay is removed and the wires are disturbed, part of the evidence may be gone.
Restoring operation and finding the root cause are not always the same task.
It is reasonable to replace a suspected relay to reduce downtime. It is not reasonable to close the investigation only because the machine restarted.
A Practical Field Checklist
When a replaced relay fails to solve the problem, check the following:
- Is the coil voltage stable during actual operation?
- Are the relay terminals and upstream terminals tight?
- Is there a partially broken or vibration-sensitive wire?
- Which interlock removes power from the relay?
- Does the fault occur during startup, high load, heat, or vibration?
- Did reconnecting the wiring temporarily restore the circuit?
- Are PLC event logs or alarms available?
- Has the removed relay been tested separately?
- What changed during replacement besides the relay itself?
Final Thought
Replacing a relay is easy.
Proving that the relay caused the fault is harder.
The most dangerous part of an intermittent failure is not that it disappears. It is that the temporary recovery gives us confidence before the real cause has been removed.
When a fault returns after a component replacement, do not immediately replace the new component again.
Go back to the circuit.
Check the voltage, wiring, interlocks, environment, and operating sequence.
The replaced part may be new.
The original problem may still be waiting in the same place.